Adding the client computer into domain isn’t complicated procedure. To do this you need to go to the Control Panel, choose System, then click Change settings in Computer name, domain, and workgroup settings section. In new window named System properties choose Change and put there domain name. After that click ok. System will ask DNS about Domain Controller address and if communication will success, credential window will be shown. Domain Administrator account will be needed. After restart machine system will be the part of domain.
There is really different situation when computer is in different network as DC is and we have to add client to domain. Communication with Domain Controller isn’t possible, unless we have VPN connection configured.
VPN allows connecting to different network and working in the same way as local client. Using VPN you can also add computer to the domain.
Let’s start with VPN configuration. For now, computer is working in workgroup and we are logged in as local administrator. Let’s choose Network and Internet, Network and Sharing Center in Control Panel and click on Set up a new connection or network.
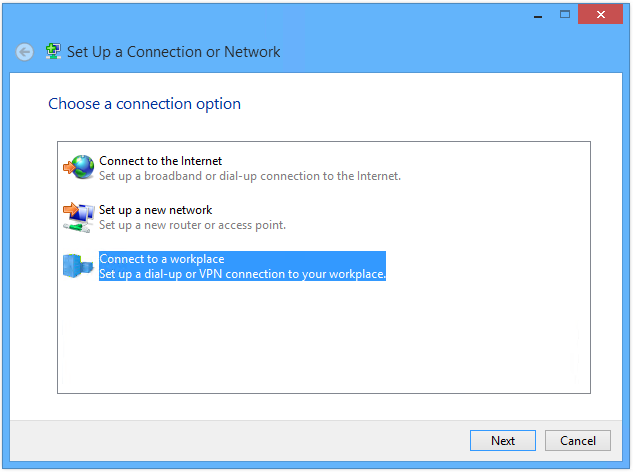
In connection wizard choose Connect to a workplace, and then Use my Internet connection (VPN). In further window you need specify connection address. After close the wizard connection is ready to use. Just click on network icon near clock and choose name which are specified for your case. You will ask to provide credential and successfully linked to remote network.

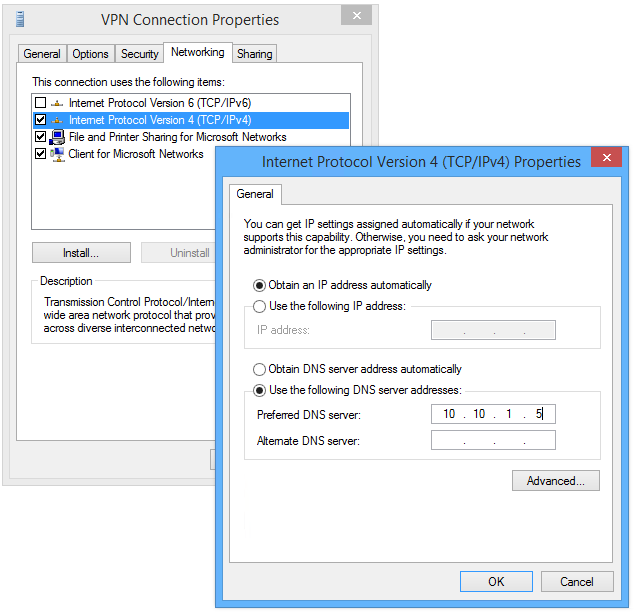
Unfortunately adding to the domain isn’t possible this time, even VPN connection is established. You need to additionally adjust them to communicate correctly with DNS in remote network. Choose Change adapter settings in Network and Sharing Center and open VPN properties. On Networking tab, in IP v4 properties type DNS address. For this case it’s 10.10.1.4.
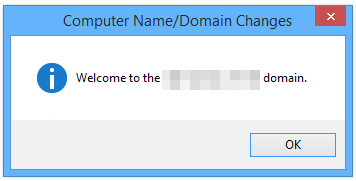
Changes required reconnect the VPN. For now we can add computer into the domain without any trouble. Procedure is the same that was mentioned in beginning of this article. It’s important to specify FQDN instead of simple domain name.
After restart computer is a part of domain infrastructure, but we are unable to login using domain account. VPN connection isn’t established and communication with Domain Controller isn’t possible. To solve this issue, log in using local account, establish VPN connection and then use Switch user option. In situation when we’re using domain account also for VPN, we can simply share VPN connection for other users.
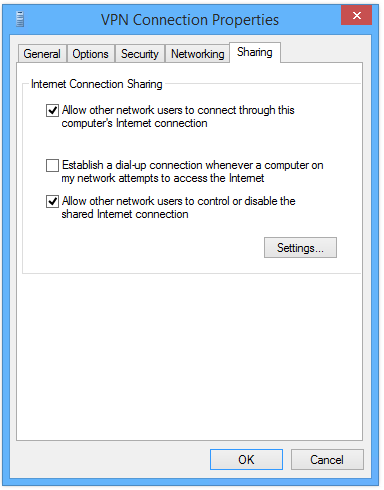
Then on login window we will see network icon with VPN connection. After click here, link can be established and we will log in as domain user with the same account as were used for VPN.
It’s not necessary to establish VPN connection every time when computer will start, to log in by domain account. In Windows OS last 10 successfully logins are stored, and during next login try authorization will performed based on encrypted password stored in cache.